A few days back Netflix released Polynote a polyglot notebook as an open-source tool for data scientists and machine learning enthusiasts. Although polyglot like Jupyter was already there for Julia, Python, R, and other programming languages Polynote features “first-class” Scala support and multi-kernel notebook support that Jupyter lacks. The following tutorial will help you to get started with dependencies and installation of Polynote.
Installing the dependencies:
- Polynote only supports only Java 8 currently so if you are using and download the JDK depending upon the OS you are currently using.
- The next prerequisite is the Apache Spark installation. Mac users can install it from Homebrew using
brew install apache-spark. - To enable Python support jep, jedi, pyspark and virtualenv are need to be installed. Use pip/pip3(if Python3 is not the default python version) and install the Python dependencies
pip3 install jep jedi pyspark virtualenv. The notebook only supports Pyhton3 as per the documentation. If JEP installation fails to install build-essentials to run Polynote. Click here to know how to install build-essential for your operating system.
Setting up the environment variables:
The following paths will differ depending upon the operating system you are using or the installation path, modify the paths accordingly.
export JAVA_HOME= /usr/java/jdk1.8.0_231-amd64/export SPARK_HOME= /home/user/spark/export PATH="$PATH:$SPARK_HOME/bin:$SPARK_HOME/sbin
Downloading and installing Polynote:
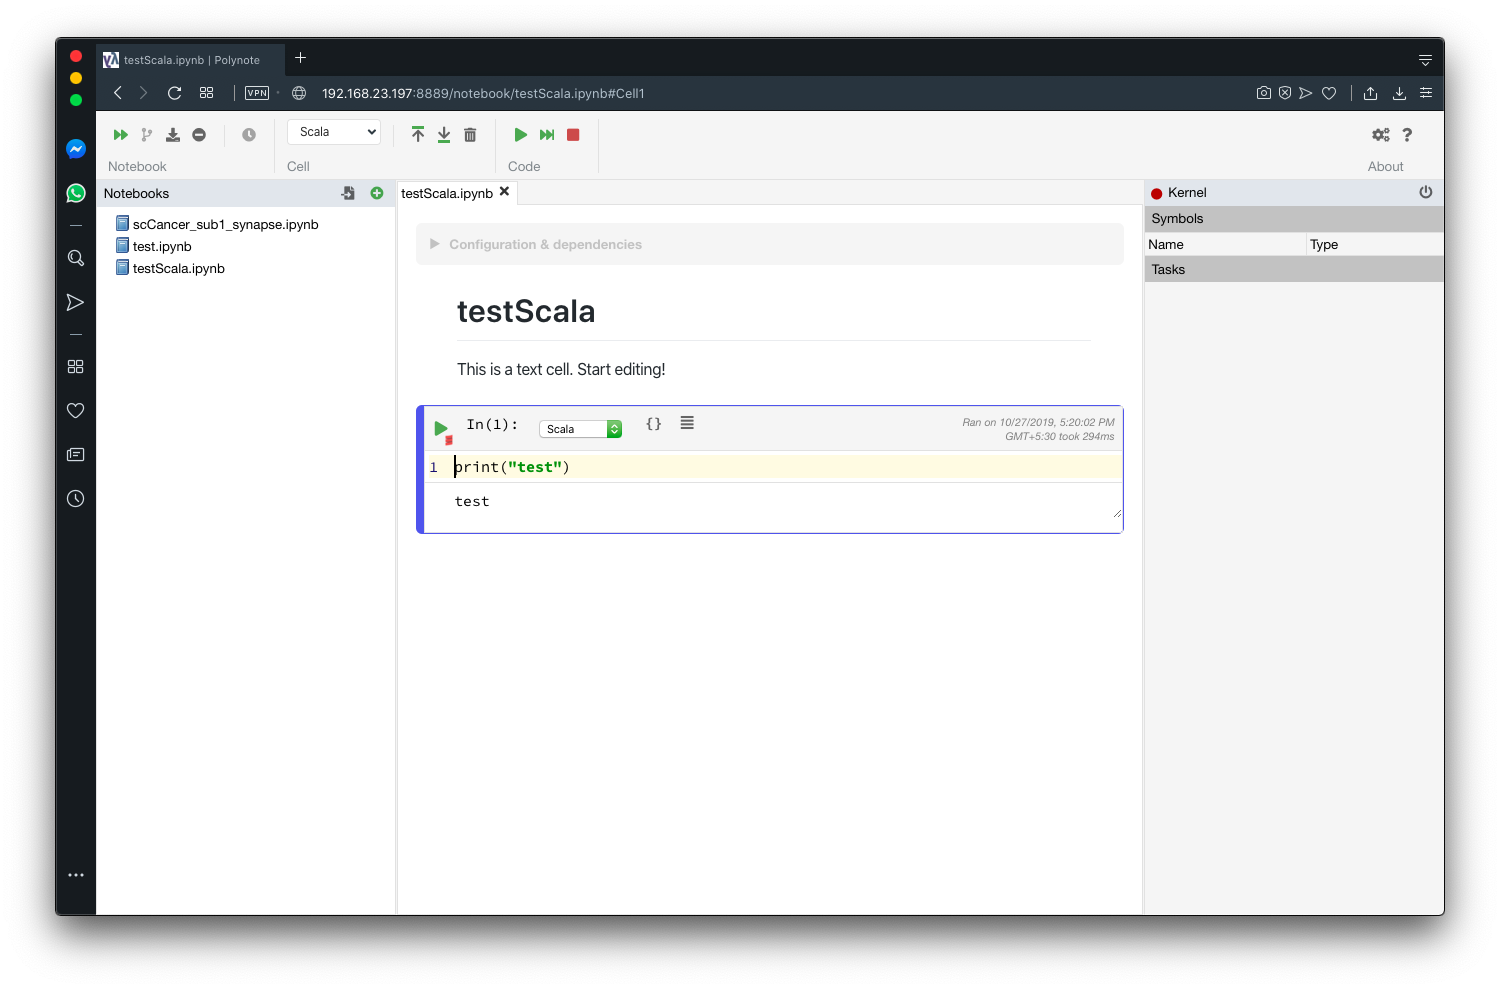
Go to the Polynote release page and download the latest release. Unzip the file and put the Polynote folder in /home/user (Linux) or /Users/user (Mac). Now go to the Polynote folder and copy the config-template.yml to config.yml . To change the default port and IP address uncomment the listen: block. Now just run the executable to start the notebook server. By default the URL of the notebook server is localhost:8192.
To run the notebook in background use nohup ./polynote &. Currently, Polynote does not have any inbuild authentication method so avoid running the notebook in a public server without proper security measures.
Issues with Python
If you are using Anaconda or Miniconda the Polynote startup script may not work(no jep in java.library.path) properly as there is no pip3 available. If you open and modify the jep_path variable to use pip inserted of pip3, it will solve the issue or set the jep path directly using Djava.library.path. If you get insecure Py4j gateway to Spark error try installing pyspark version 2.4.0 or PYSPARK_ALLOW_INSECURE_GATEWAY=1 environment variable.
The points which you have mentioned those are interesting to utilize in practical process. It’s a very much advantageable to everyone…thanks for providing such kinds of valuable information.
Very true, Your content is always informative and I love to read them.
Thanks
If you want to run polynote on Windows you can use my script. It runs the current version of polynote, you just need to double-click the batch file in my repo and everything builds and boots up on its own. (Let me know though if you encounter any problems with it).
I used docker to run polynote on Windows. Currently I’m reworking the Dockerfile I wrote to automatically update polynote on new releases. But as of now the script to run Polynote works for polynote version (0.3.11).
https://github.com/moritzbaumotte/polynote-windows-inofficial
Here you only need docker-compose and docker installed. You can download the repository and execute the batch script. It will create a working docker image and run it, then you can access polynote on http://localhost:8192
The issue with the official docker images imo is the binding to 127.0.0.1 which needs to be 0.0.0.0, hence the config.yml in my repository.
Hi Moritz, thanks for sharing the docker image for Windows. I’ll try it and update the article.